

Ethan Frey
Testing

Kathryn Versteeg
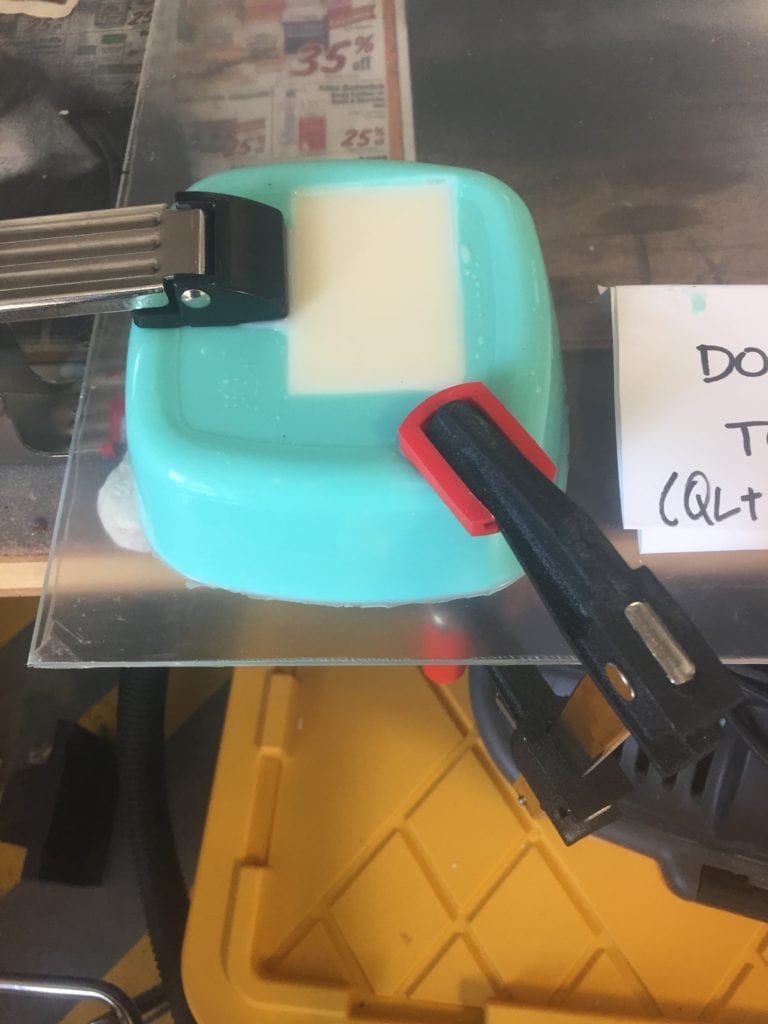
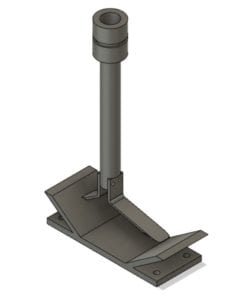
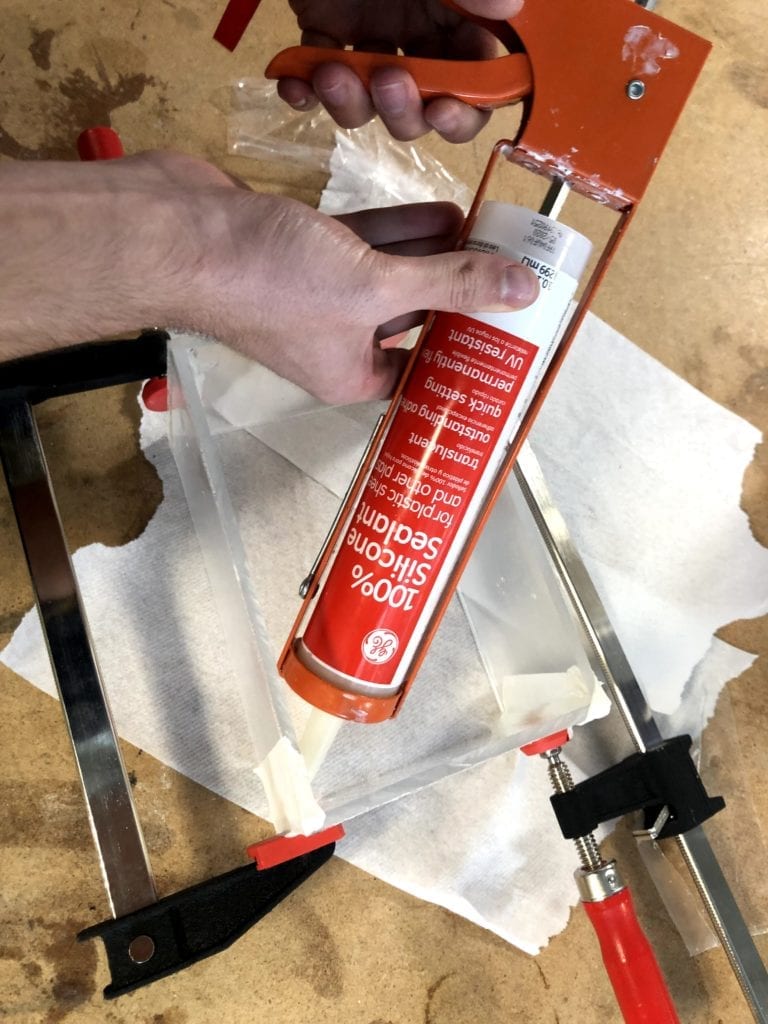
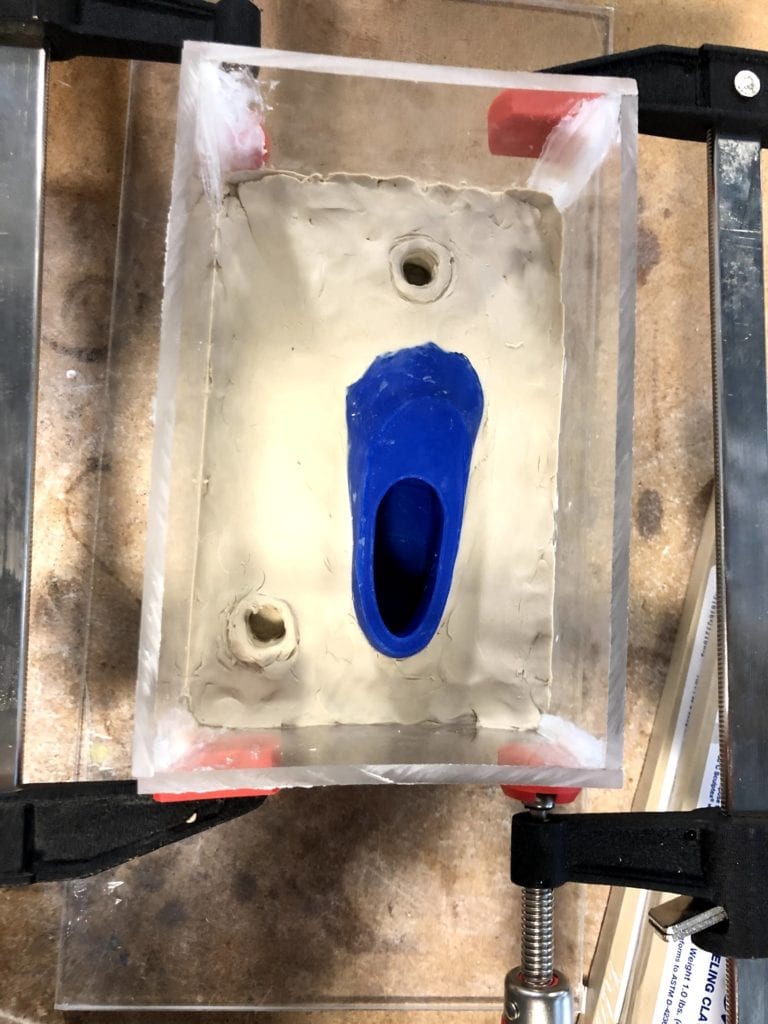
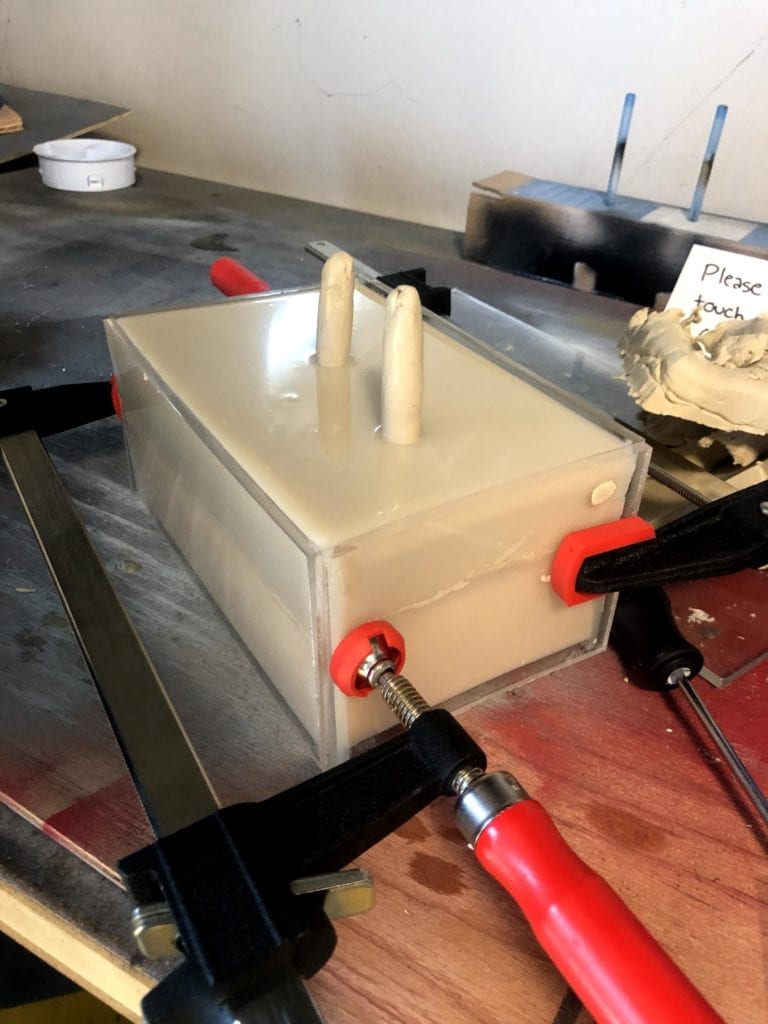
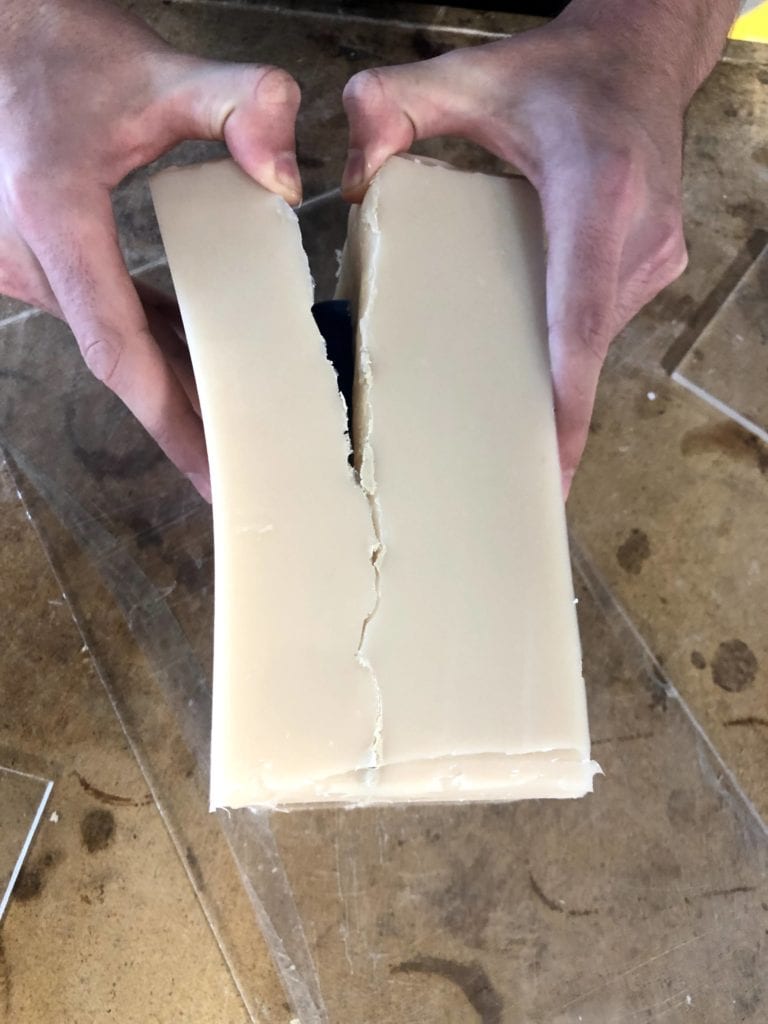
Manufacturing

Jackson Tucker
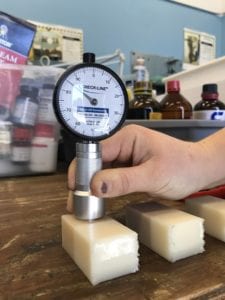
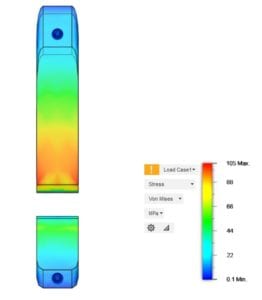
Design Verification


This project is sponsored by the Cal Poly branch of Quality of Life Plus (QL+)

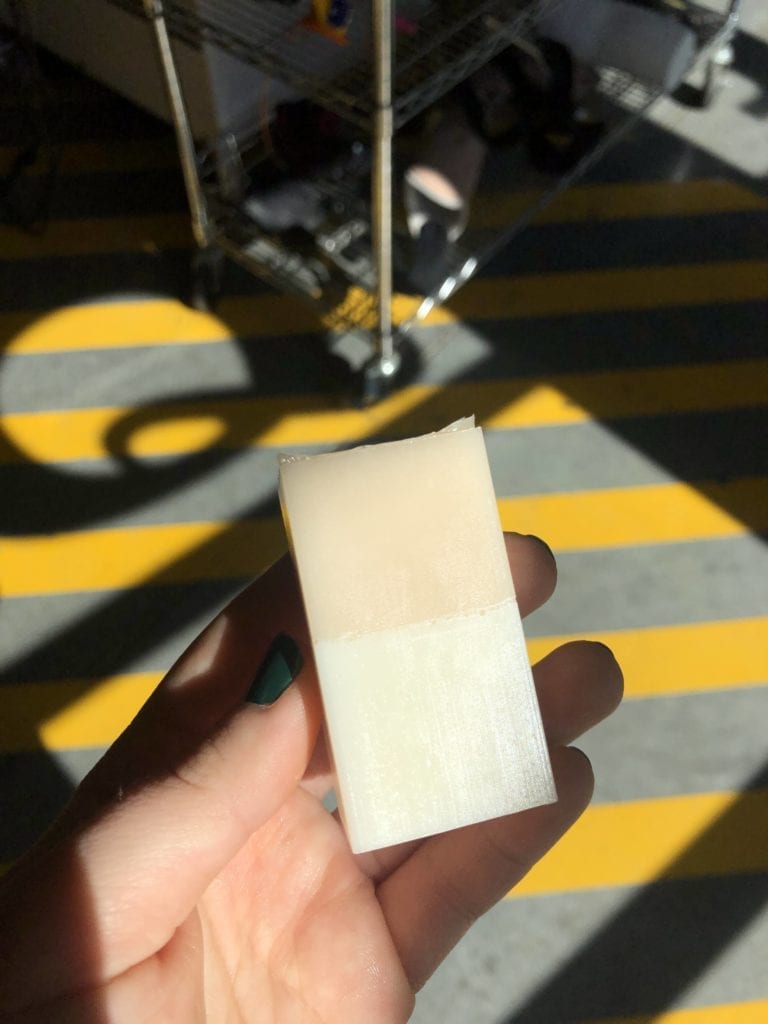

Testing
Manufacturing
Design Verification
This project is sponsored by the Cal Poly branch of Quality of Life Plus (QL+)