
Philip Coleman

Paulina Delgado

Mark Sunga
Phillips 66’s Santa Maria Refinery hires specialized craftsmen to perform maintenance on bolted flanged joints, shown below. Sometimes, the maintenance is not always completed to refinery-specific standards. Such errors can lead to costly repairs and can even compromise worker safety. Our group has been tasked to develop a test and a test stand to evaluate a craftsperson’s ability to properly assemble bolted flanged joints.

In order to test craftsmen’s knowledge of various pipefitting applications, three types of flanges were to be included on the test stand:
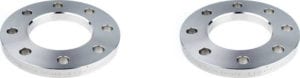
Flat Face
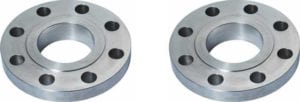
Raised Face
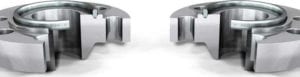
Ring Type Joint
For the flat face and raised face flanges, a gasket sits in between the flanges to create a leak-proof seal. With the ring type joint, a ring sits deep in the groove that is cut into the flange face. When the ring is compressed, a seal is made. In a setting such as a refinery, where hundreds or thousands of pipes might be running in different directions, flanges are crucial to connecting the pipes and ensuring leakage does not occur. In addition, flanges allow for ease of disassembly and maintenance to occur. However, when maintenance does occur, improper flange alignment and torque may lead to leaks, which can lead to delays in refinery operation.
Our project was sponsored by the Phillips 66 Santa Maria Refinery.
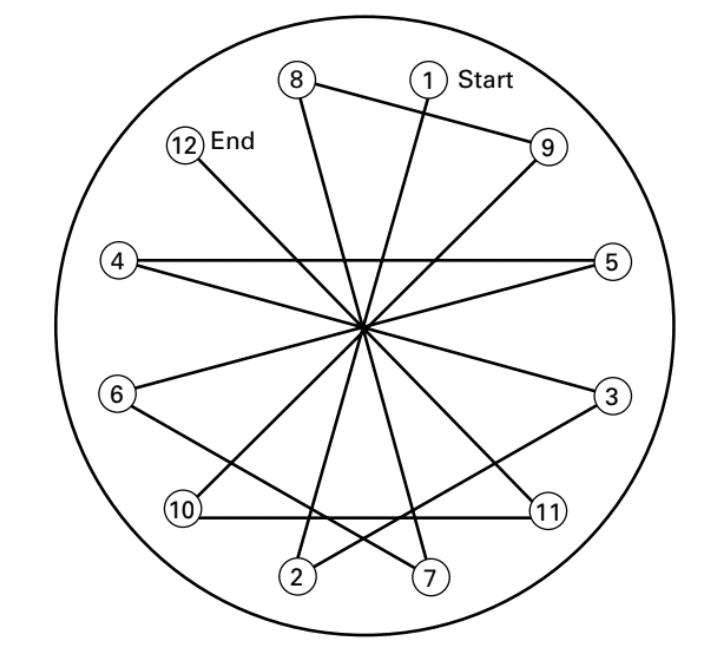
It was determined that a larger flange would be required to test knowledge of bolting patterns. Following proper bolting pattern is crucial to ensuring proper flange alignment and adequate sealing, A general “star” pattern should be followed. After examining flange sizes and weights at the refinery, it was determined that the largest flange that could be safely secured to the test stand was a 12-bolt flange.
As an example, the proper bolting pattern for a 12-bolt flange, taken from ASME PCC-1-2019, is shown below.
Shown below is an early concept model. 
- Three flanges on left – flat, raised, and ring – aim to test correct part selection and familiarity with different flanges
- Larger flange (fourth from left) tests knowledge of bolting patterns
- Rightmost flange tests full assembly – bolting pattern, torque, and lubrication
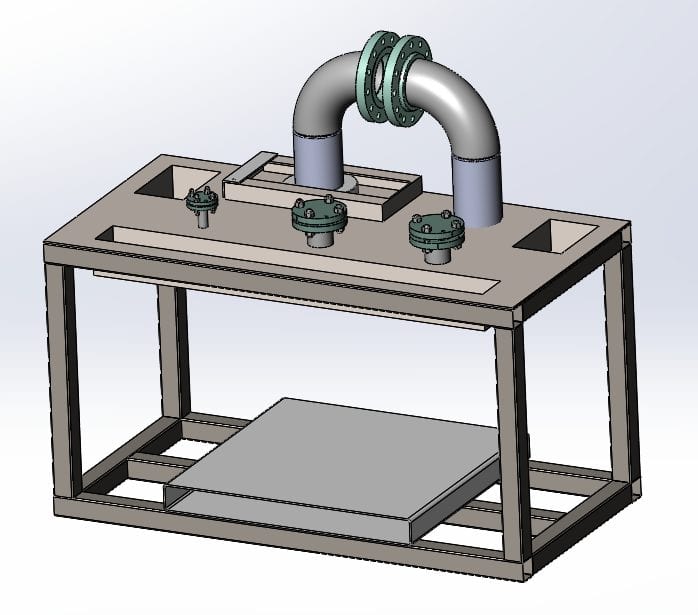
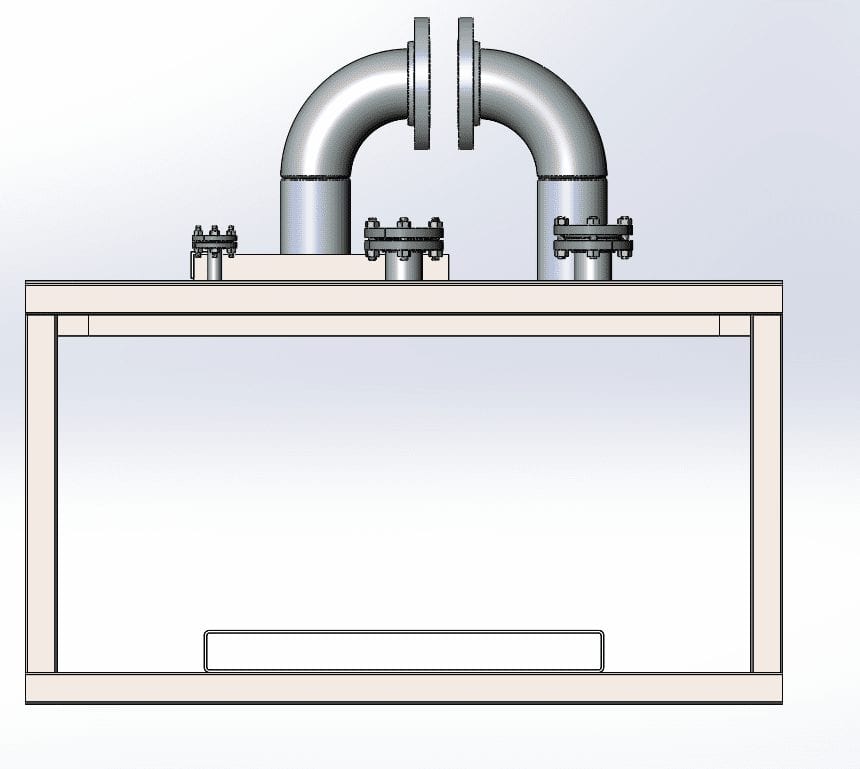
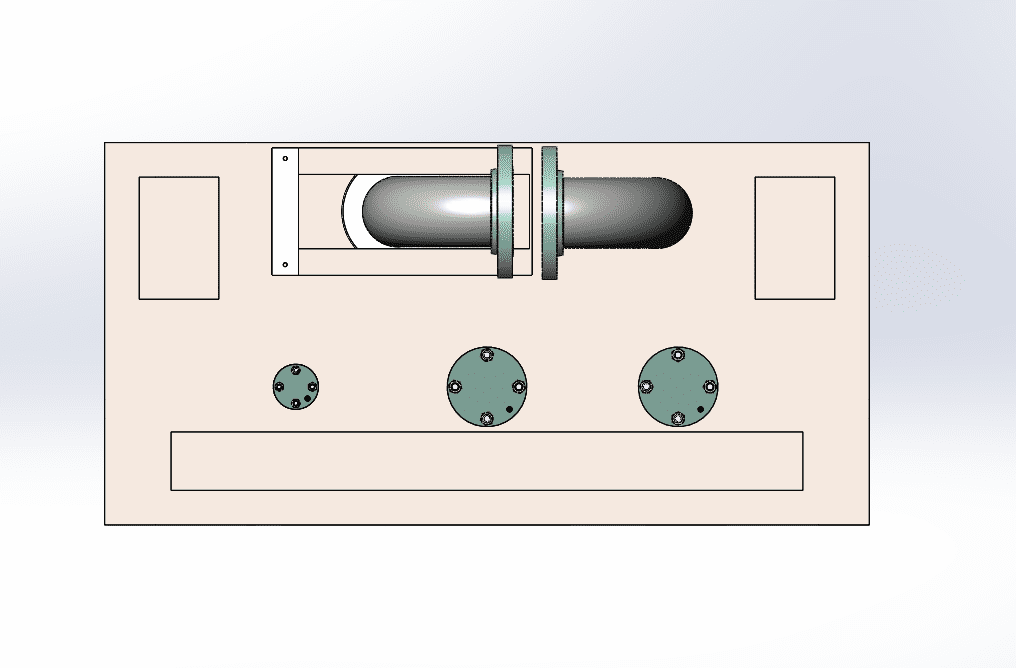
Shown below is the first design iteration.
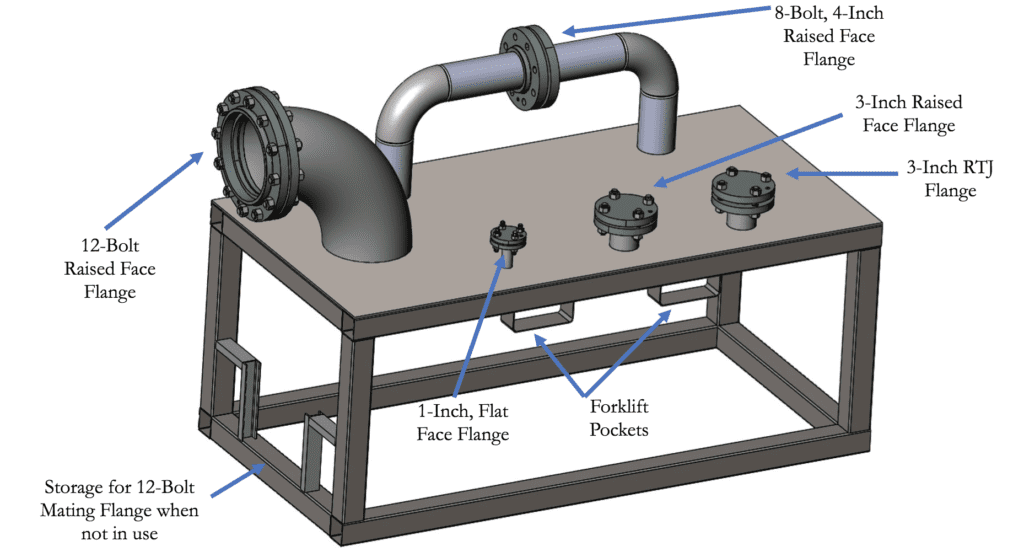
- Three small 4-bolt flanges – one of each type to test part selection
- One large 12-bolt flange to test tightening pattern
- One medium 8-bolt flange to test full assembly procedure
- Flanges oriented both horizontally and vertically
- Forklift pockets under table

Square tooth tool to be used by evaluator to check alignment.